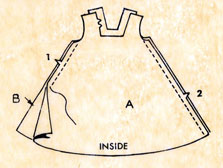
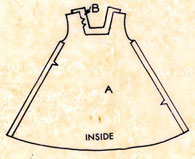
A simple nightgown, tent shaped for Barbie. This nightgown can be paired with Barbie’s Dressing Gown (or Peignoir).
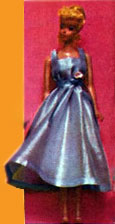
This nightgown looks like its made out of taffeta. But you can use any lightweight fabric from cotton to silk or anything that is floaty (flows nicely).
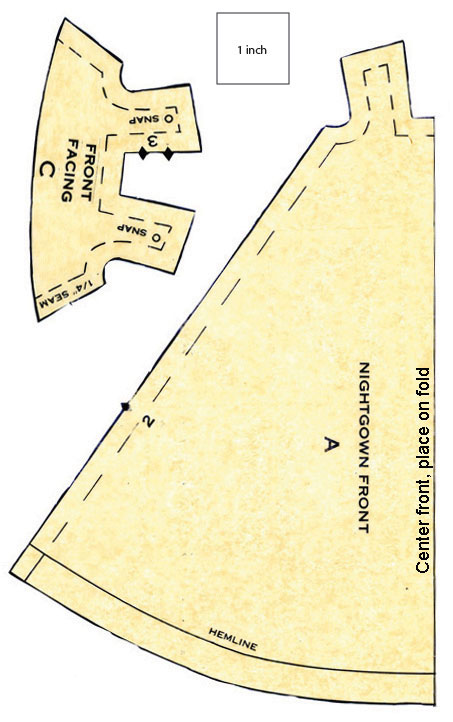
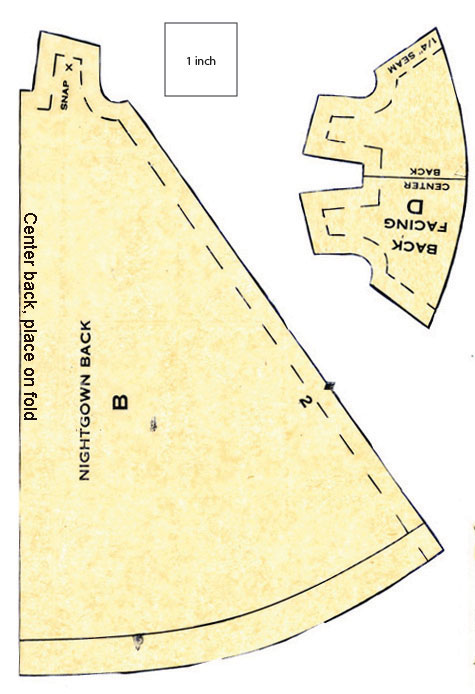
The pattern prints on two pages:
Instructions for saving and printing jpg or pdf files are here.
Pdf file of Barbie’s Nightgown
Instructions for Sewing Barbie’s Nightgown
1. With right sides together, stitch the side seams:
FACINGS
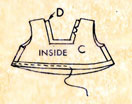
2. With right sides together, stitch the underarm seams:
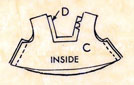
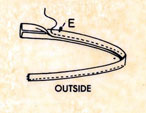
3. Press seams open:
![]()
4. Finish the bottom of the facing with a small fold under to finish the raw edge. Stitch close to the edge:
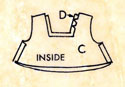
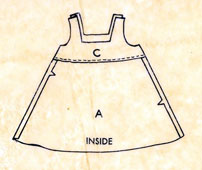
5. Attach the facings: with right sides together, slip the facing over the gown. Match the underarm seams. The facing should fit the neck and armhole perfectly. Pin the facing in place and stitch, starting at one underarm seam up to the shoulder. To make corners, leave the needle in and lift the presser foot, turn the corner, let the presser foot down and continue stitching. You should go from armhole to shoulder, to neck edge, to shoulder, and continue to where you began. When you get to where you began, stitch over the first stitches to lock them in place.
Trim the corners carefully, and clip the neckline corners and armhole curves:
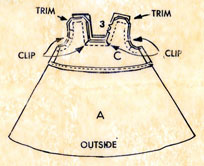
6. Turn the facing to the wrong side, using a delicate touch, turning the points out sharp points (use a blunt instrument such as a knitting needle point to get the corners turned all the way — but be careful not to make a hole, this takes a little practice):
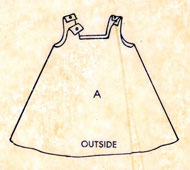
7. Press the facings. Sew small snaps at the shoulder to fasten:
TIE BELT
8. For tie belt cut a piece of fabric 15″ x 1″
Fold the two seam allowances the entire length of the tie belt and press. Stitch the pressed edges together as shown. Turn in the ragged threads at the ends and blind-stitch them into place: