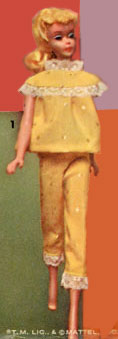
Really cute pajamas!
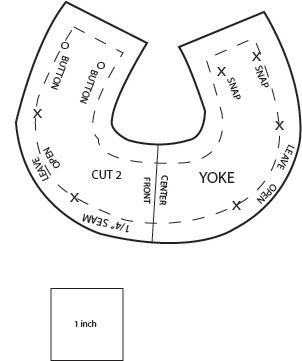
The pattern will require three pages to print:
Instructions for saving and printing jpg or pdf files are here.
Pdf file of Barbie’s Pajamas
Instructions for Sewing Barbie’s Pajamas
PANTS
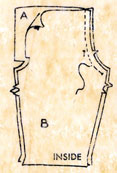
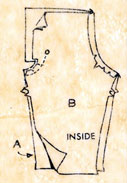
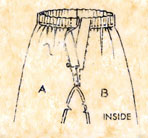
1. Join the center back seam with right sides together, matching notch:
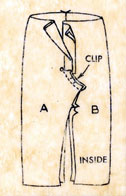
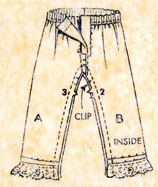
2. Clip the seam and press open:
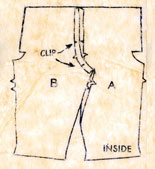
3. Stitch the center front seam leaving open above the dot:
4. Press this center front seam towards the right clipping the curved seam first:
5. Open out the pressed front edges and press the remaining “fold” lines. Make a small edge fold under at the waist edge and press in place. Fold under the waistline casing (see the pattern for the fold line) and press this line from front edge to front edge. Pin it into place.
Press a fold into each lower leg edge on the hemline. Make a small edge fold here too and pin in place:
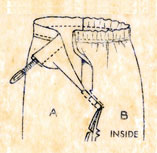
6. Finish the waistline casing by stitching the fold into place, from edge to edge. Using 3 inches of oval elastic, tack a tiny safety pin to one end and pull it through the casing (the ends of the elastic will extend 1/8″ beyond the front fold lines). Tuck each end firmly in place at the fold lines:
7. Fold the front openings back on fold lines over the casing edges and blind-stitch facings in place. Before sewing the leg seams blind stitch each hem in place:
8. Lace ruffling is used at the edge of each hem so it should be stitched on now. Place the straight edge of the lace directly over the hem edge on the wrong side, allowing the lace to extend below and machine or hand stitch it into place:
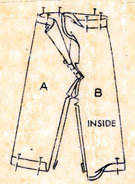
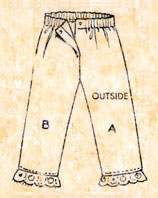
9. With right sides together, matching your center front and back seams, pin the leg seams from one hem edge around to the other edge pinning the ends of the lace ruffling together. Sew in 1/4″ seam allowance:
10. For front closing. lap the right front over the left front. Sew tiny snap at front waist:
TOP
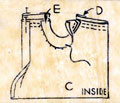
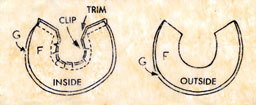
11. With right sides together pin facing pieces to underarm. Stitch in place, clip curves:
12. Turn facings to right side and press. Turn under tiny edge and blind stitch facings in place. Run gathering stitches from armhole edge to armhole edge on front, and from armhole edge to center back line on top back edges. Pin the back fold line in place:
YOKE
13. With right sides together, matching the cut edges evenly, pin yoke and yoke facing together from the back opening edge, around the neckline and down to the other back edge. Stitch as you have pinned, pulling out the pins as you go.
Clip the curves and trim the corners. Turn the yoke to the right side carefully turning corners so as not to fray the fabric. Press:
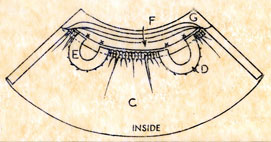
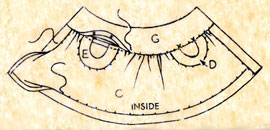
14. Attach yoke to top. With right sides together pin the yoke to the bodice, starting at one back edge and keeping the back edges even. Place the first dot at the back armhole edge.
Tack the gathering threads at one end. Pull them up and pin them evenly into place. Stitch.
Matching the center front lines and each front armhole edge to its corresponding yoke dot, pin, pull up gathers and stitch.
Matching the remaining back armhole edge to its corresponding dot and keeping back edges even, pin, pull up gathers, and stitch.
Press with you gathered seam turned up towards the yoke:
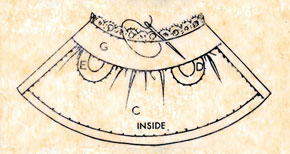
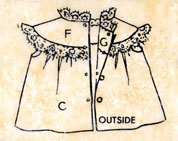
15. Turn the free edge of the yoke facing under along the seamline and pin in into place over the seam on the inside and blind-stitch it into place. Open out the back folded edges. Press the lower hem to the inside on the hemline. Make a small edge fold just wide enough to tuck in the ragged threads and pin the hem in place.
Blind-stitch the hem from the back opening edge to back-opening edge. Turn the back facing over the hem edge and blind-stitch it into place on both sides:
ATTACH LACE TO NECK AND YOKE
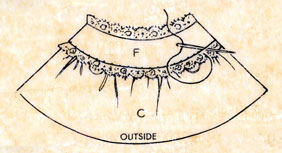
16. Place the straight edge of the lace ruffling against the wrong side of the neckline so that only the lace extends beyond. Blind-stitch it into place, turning under the cut back edges of lace and blind-stitch back the edges:
17. Place the straight edge of lace ruffling along the yoke seam and along the free shoulder edges of the yoke. Blind-stitch it into place:
FINISHING
18. Lap the right back over the left so that the snap marks are directly over each other. Sew snaps at the marking.
Sew tiny beads at button markings if desired to make a “fake” button closing:

