We really did wear these in the early and mid 60’s. The shift was comfortable if not a little restricting at the hemline. That’s why there were slits at the side seams, to make some walking room. But, Barbie does not need the slits and it is easier to sew the side seams all the way to the bottom and not leave the slit. But if you want them of course follow the instructions below.

The pattern will print on one page:
Instructions for saving and printing jpg or pdf files are here.
Pdf file of Barbie’s Shift
Instructions for Sewing Barbie’s Shift
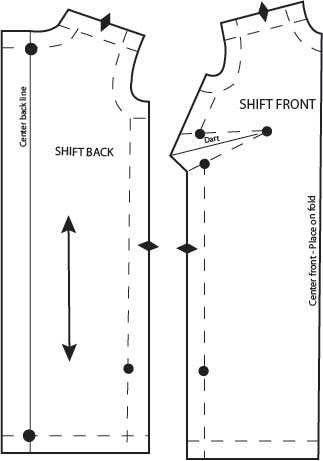
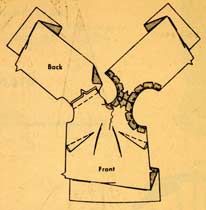
1. FRONT and BACK Make darts in front; press down. Sew shoulder seams. Stitch under 1/4″ on neck and armhole edges, clipping curves:
2. Join side seams above small dots. Stitch under 1/4″ on lower and side edges. Press RIGHT back opening to INSIDE along solid line; stitch:

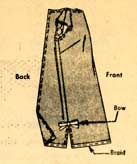
3. On OUTSIDE, pin braid to lower edge of dress, turning ends under (optional). Stitch braid along center.
Cut two pieces of braid, each 4-1/4″ long. Tie into bows and tack to upper ends of side openings as shown:
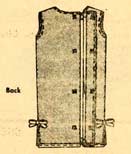
4. FINISHING Press dress. Lap RIGHT back over LEFT, matching centers. Fasten with four snaps:
I made Barbie a shift:
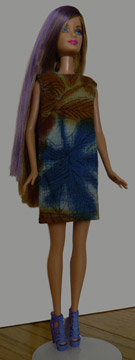
Very cute! Pretty easy. Be careful around the armholes and neckline.